Custom Cookie Decorating: The Grammar
A beginner’s guide to the terms of Custom Cookie Decorating.
Are you interested in decorating custom sugar cookies? Do you spend hours on Youtube or Instagram watching Reel after Reel of cookie decorating? In this post I break down the common terms and tools used for decorating custom sugar cookies to prepare you for your own cookie adventure.
Custom Cookies
Gourmet/ Drop Cookies:
Gourmet cookies are not ones decorated with icing but instead stuffed with delicious goodies. A common tool used is a cookie scoop to scoop and plop the dough onto your baking sheet. They can vary in size, from teaspoon cookie to 5oz plus!

Cutout Cookies/ No Spread
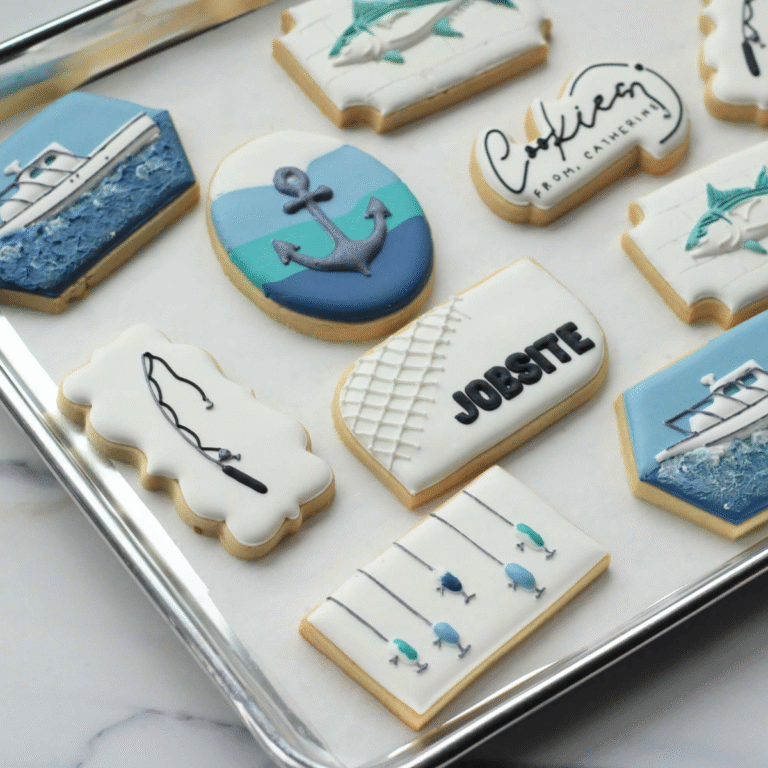
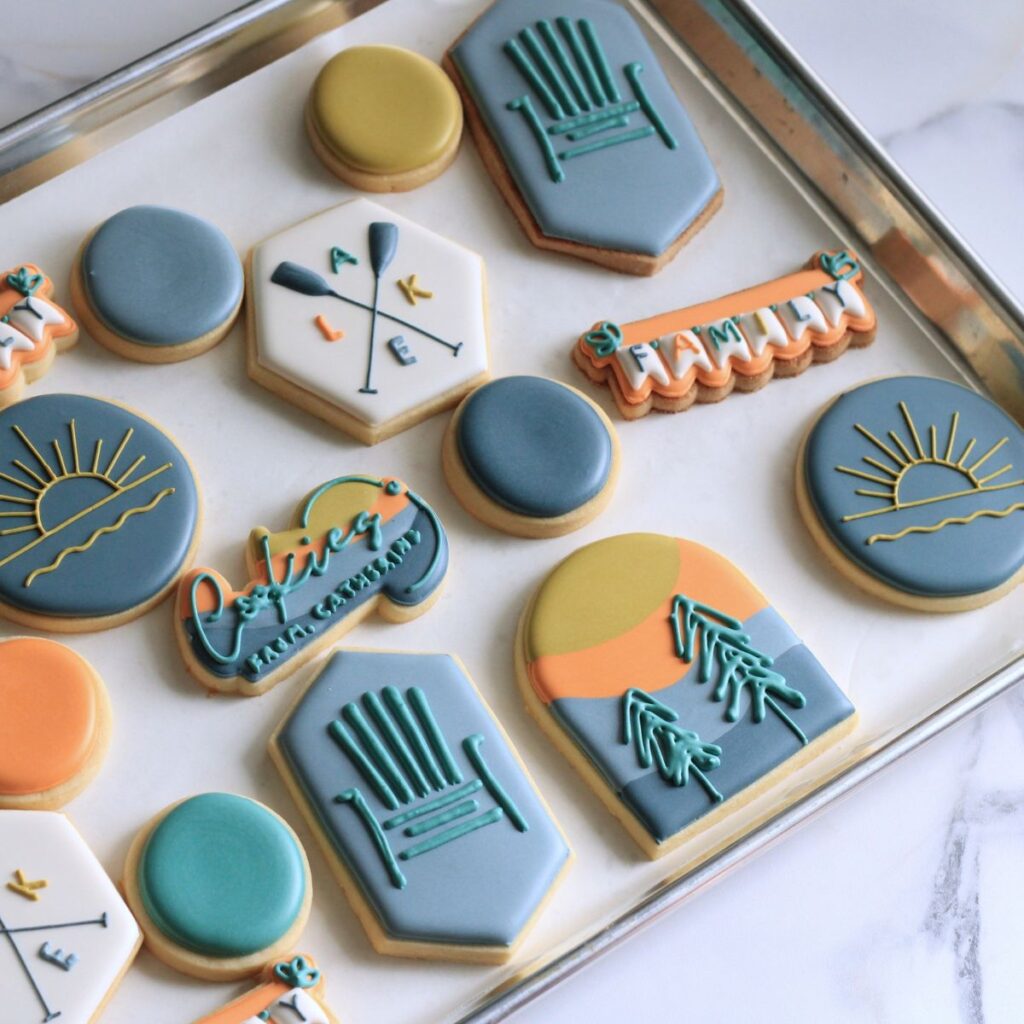
This is the dough that you will want to use to make custom sugar cookies because the dough will hold its shape (not spread into a blob) and bake flat to give you a smooth surface; perfect for decorating. After your dough is rolled out you cut out fun shapes using cookie cutters, customizing them to your specific celebration.

Cookie Cake
A drop cookie baked in a cake pan decorated with buttercream frosting – frequently embellished with mini custom cookies.

PYO
Paint Your Own cookie. A white frosted sugar cookie with black outlined design that can be painted with gel food coloring. Paint palettes are available for purchase to be given with the cookie (see photo below) or some cookie artists add their own paint palette using icing transfers. Make sure to include a mini paint brush!

DYO
Decorate Your Own cookie. Unfrosted cookies given along with bags of icing and sprinkles so that the customer can decorate themselves.

Custom Cookie Icing
Royal Icing
Smooth icing made with powered sugar and egg whites (or meringue powder). It dries completely holding designs well.
Glaze
Softer more brittle icing made with powdered sugar, water, and corn syrup.
Hybrid
A combination of royal icing and a glaze. Uses eggs white or meringue powder, and corn syrup. (This is what I use and HIGHLY recommend). Dries hard while securing a soft bite.
Buttercream
This is not a royal icing and will not flood together. You can still color it and create some simple designs. I don’t have any experience using buttercream for custom cookie decorating and just use it for decorating cakes.
Icing Consistency
Stiff
This icing is thick and holds it’s shape well. It is the consistency you want to use when you make florals.
Flood
A thin icing that blends or “floods” together. It is used to create a smooth base layer.
Medium
A happy medium. I use this consistency to make a border along my cookie to hold in the flood icing. I also use it to add writing to my cookies. It is common to use this consistency as the base of a mini cookie instead of outlining and flooding each cookie.
Custom Cookie Decorating Techniques
Wet on Wet
This technique uses different colors of flood icing to create a cohesive base – instead of the letting the base area dry and layering the next element on top.

Transfers
Icing transfers are designs made with icing on parchment or cellophane. Once the icing has dried completely the transfer is peeled off the paper and glued to the cookie with icing.


Water Color
Gel food coloring can be mixed with a clear alcohol or extract to make a water color consistency on a flooded cookie.

Airbrush
An airbrush machine lets you airbrush designs with a stencil onto a cookie with specific “Airbrush Gel Food Coloring”

Stencil
Stencils can be purchased or created on a Cricut or similar cutting machine. They are used to airbrush or smear a design onto the cookie.

Smear/ Palette Knife
Palette knifes can be used to create gorgeous florals or simple designs with icing smeared across the cookie.

Metallic Embellishment
You can purchase gold or silver “dust” that can be added to alcohol and then brushed onto dried icing to create a metallic look.

Pen Details
Edible pens are available to write on your cookies.

Parchment Paper
After a cookie is iced you can add parchment paper, either smoothed or crinkled, to sit on it while it dries. Once it is completely dry slowly peel the paper off to reveal a fun new texture.

Custom Cookie Tools
Cookie Scribe/ Toothpick
A sharp object used to manipulate icing. A cookie scribe can be used to create details with wet on wet designs, pop air bubbles or help icing settle.

Dough Sticks
Dough sticks help you roll your dough to an even thickness. They come in pairs of two. You place your cookie dough in between the sticks and roll it out with a rolling pin. Make sure your sticks aren’t spread out farther then the length of your rolling pin. Eventually as you roll you won’t be able to push it thinner than your sticks, giving a unified thickness. You can purchase them in a variety of sizes. The ones I have are 3d printed and have magnets in them so that they stick together when not in use. Or if you have a metal counter they would stick to that. My favorite thickness is ¼ inch. Having a flat surface makes decorating easier so this is a tool I recommend.

Baking Sheets
I know this is a well known tool and I probably don’t need to include it. BUT did you know that you can buy baking sheets that come with lids?! I highly highly HIGHLY recommend them for multiple reasons. 1. Once my cookies come out of the oven I put the lid on. It traps the steam and gives moisture to the cookie making them super soft. 2. You can stacks your trays with the lids on, I am all for a good space saver. 3. While the lids don’t keep the cookies as fresh as a sealed bag it can help them from drying off too quickly. Please note: in order for royal icing to fully dry the cookies need to be left uncovered for a significant amount of time (think 24+ hours). I still find the lids incredibly useful.
Baking Mat
A baking mat can be a silicone mat, parchment paper, or a Chua mat. It is placed on your cookie sheet and your cookies bake on it. It helps keep the bottoms from getting too crispy while they bake. I personally only use baking mats for my cutout cookies. I prefer the texture of my drop cookies without the use of a baking mat.
Fan
Placing your decorated cookies to dry in front of a fan helps the icing form a thin crust layer letting you add your next layer of decorating faster.
Dehydrator
Letting your iced cookie sit in a dehydrator gives them a shiny smooth finish, prevents cratering, and helps the icing form a thin crust allowing you to add your next design layer quicker. Similar to a fan. For larger batches of cookies I prefer a dehydrator because it takes less counter space than having pan upon pan laid out in front of a fan.
Projector
A projector can be connected to your phone or computer to project words or images onto your cookie so that you can trace your design. This is a tool that many consider not necessary or something to invest in down the road. I disagree. A projector helps with uniformity and quality imaging and writing. I didn’t start decorating cookies because I sought mediocrity. I started with the goal of perfection and investing in a projector right away gave my cookies a huge boost in professionalism that I would not have been able to achieve without it.
Eddie
Primera Eddie is a printer that lets you print designs directly onto cookies (once you have a dry flooded base layer). At the time of this post it costs around $3,000.00 – not something a hobby decorator needs to invest in. I have seen some cookiers do some incredible things with their Eddie and if I ever took Cookies From Catherine to a full time cookie shop I would love to get one. Printing a design on the cookie makes a great “wet on wet” looking design but much more detailed. Or if you had a corporate order who wanted their logo on a thousand cookies Eddie could make it happen.
Edible Ink Printer
An Edible Ink Printer is similar to an Eddie, but instead of printing directly onto a cookie you print designs, using food safe ink, onto frosting sheets and then put the sheet onto your cookie. These types of printers vary in price but start around $200. I do not have any experience with these printers but after writing this post I want to give them a try!
Dough Sheeter
A dough sheeter is a machine that you put your dough into that will roll it out to your desired thickness. This machine costs around between $500-$1000 and again not something a hobby decorator needs, unless your hands and arms struggle to use a rolling pen. This is another item that I would invest in if I were a full time baker and pumping out hundreds of cookies a week.
Custom Cookie Packaging
Heat Sealed
Heat sealed cookies can make your cookies taste fresh for 14+ days. You can purchase a heat sealer on Amazon for around $30.00. Start by putting your cookie into a cellophane bag and then after your heat sealer is on and warmed up you clamp the handle over your bag and it will melt it shut.
Heat Sealers can be a little temperamental and require some adjusting of the temperature to get the perfect seal.
Self Sealed
A self sealed bag is a cellophane bag that can be closed without a heat sealer. At the opening of the bag is a sticker line that once the backing is peeled off can be folded over and stuck to itself. I am inclined to think that the self sealed bag does not keep the cookie as fresh for as long as the heat sealed bag does but I plan to experiment with that in the coming weeks.
Resealable Pouch
Perfect for gift giving and one of my favorites – pouches are a type of heat sealed bag. Although they vary in size pouches typically fit a large number of mini cookies and can then be heat sealed. Once the heat seal is broken the resealable tab can be used.
Box
Bakery boxes, typically labeled for cookies or cakes, are perfect for transporting cookies. I usually buy ones that have a 3in or so height but it depends on how large your cookies are. Some boxes come with windows and some without. I prefer the boxes with windows so that you can see the pretty creations inside. I always seal my cookies in bags and then stand them in the boxes and have never had an issue with my decorations breaking using this method.
Paper Shred
It is very common to see cookies packaged in boxes with shredded paper. Please be aware that you must purchase paper that is “food safe”, not any paper shred will do, if you plan to put your cookie directly onto the paper (and not in a heat sealed bag). I suppose it makes a bit of a cushion to protect your cookies in travel but I have never had an issue without it and don’t recommend it.
Let me know what I forgot!
Writing this post was a lot of fun; but every time I finished one definition I thought of two more tools or terms. I know there is stuff that I missed and I will continue to add on as I complete more sets and new fun ideas come to mind. Comment below if there is something you have heard that you are interested in learning more about!
Feel ready to decorate custom cookies?
You have so much freedom when it comes to decorating custom cookies, I hope these tips and tools inspire you to buy some extra eggs and butter and put your apron on. I cannot wait to see what you create. Please tag #thehandcraftedcookie on social media so I can see all your amazing treats!