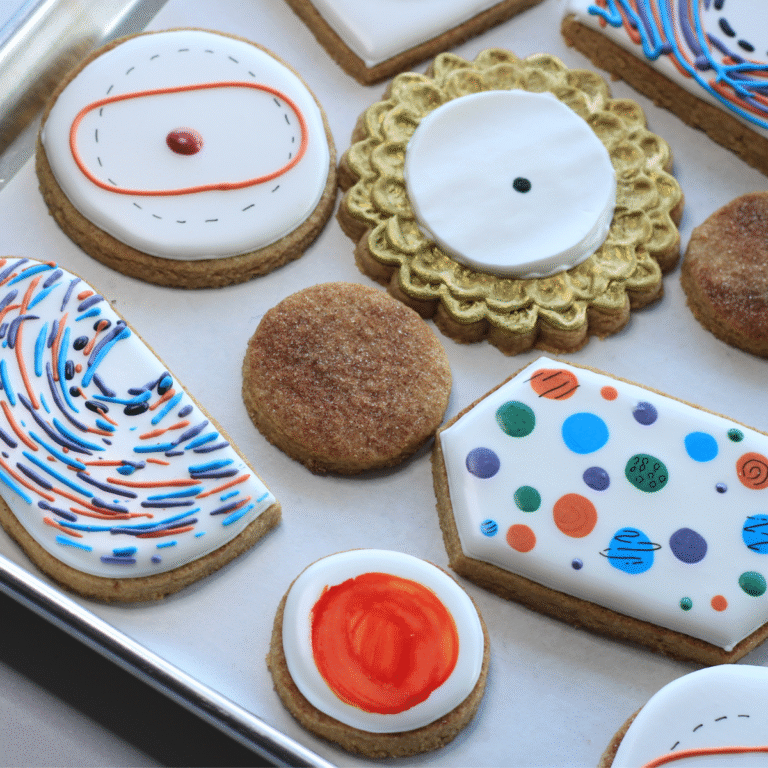
Beginner Friendly Christmas Cookies Decorated with Royal Icing

This is a beginner friendly Christmas cookie set cookie class I taught at my church In November 2025 (actually the day after I wrote this post).
The cookie designs and Power Point that I used during class was purchased from The Cookie College (an AMAZING resource for Cookiers wanting help with their marketing, or for cookie class ideas!) This class was originally designed as a 6 cookie set to be taught in an hour and a half – but I only had 45 minutes to teach so I ditched the Santa designs and figured we could probably get 4 cookies done in the allotted time.
The cookie cutters were purchased from Sweet Pink Olive. After baking 480 cookies for this class (the first 200 got tossed because there were under baked {tried to save time and use a bigger oven}) I can confidently say that I highly recommend these cutters. The edges created a clean cut while the handle is wide enough to not cause my hands pain.
Although I do plan on making a post with tips for teaching your own cookie decorating classes this post is just going to go through how to make these designs in case anyone from my church missed the opportunity to come to class and wants to make them at home!
So unlike my typical tutorials this post will be with the assumption you are decorating only 4 cookies and steps will be in order to capitalize on the dry time needed – rotating throughout the cookies – not fully instructing on one specific cookie from start to finish before moving onto the next.
Because only one consistency is being used it will be a little more tricky to incorporate. Try shaking your cookie or using your scribe between each step to help the icing flood together.
For best results I recommend placing your cookie in front of a fan in between each step. I did not offer this option during class because I don’t have enough fans, and I did not want to be constantly stepping in front of the fans and getting cold.
Supplies
Cookie Scribes
Cookies and Icing (recipes here)
Cutters
Poinsettia
Wreath with Bow
Truck with Tree
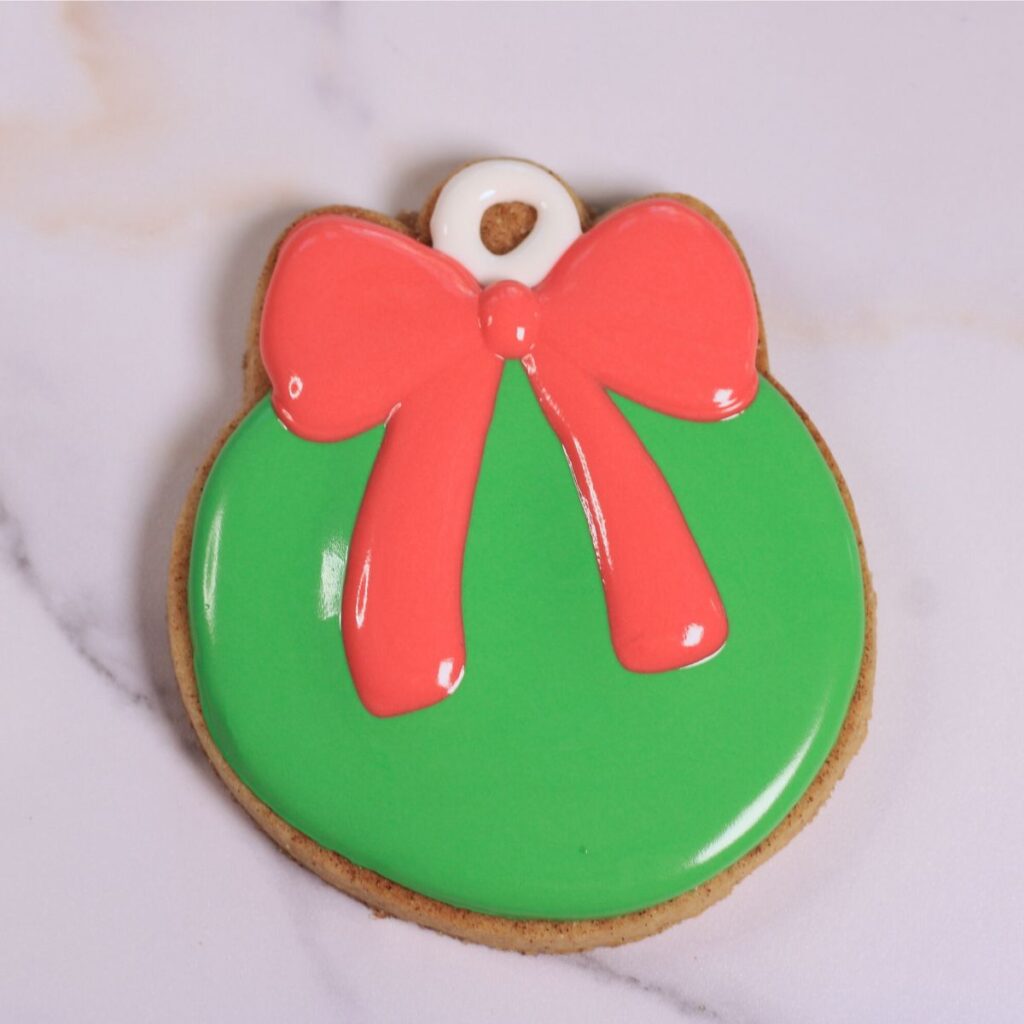
Ornament with Bow
Icing
Because this set was done for a cookie class I only used one icing consistency – a happy medium between my normal flood and outline consistencies.
Red – thicker flood consistency, but not as thick as your normal outline
Green – thicker flood consistency, but not as thick as your normal outline
Brown (just a little bit) -thicker flood consistency, but not as thick as your normal outline
White (just a little bit)- thicker flood consistency, but not as thick as your normal outline
Instructions
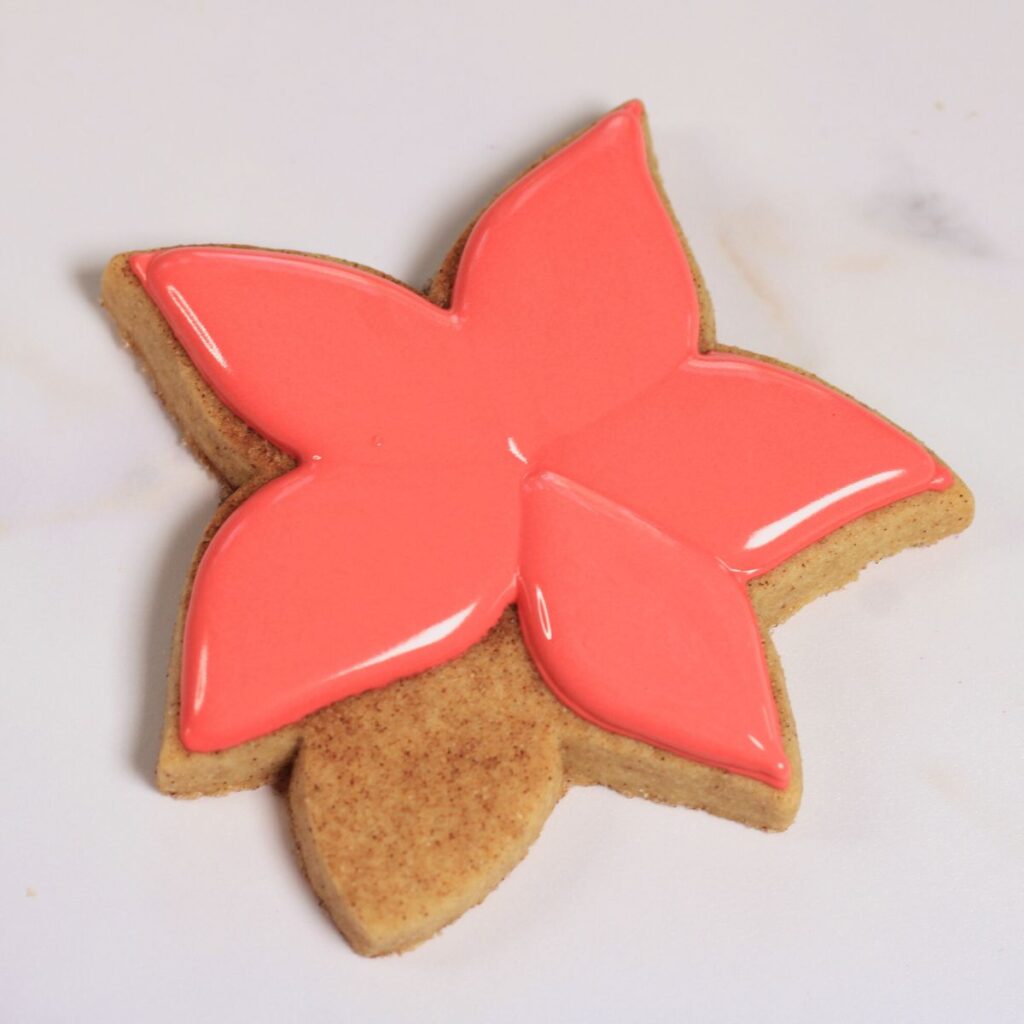
Outline Poinsettia petals with red icing.
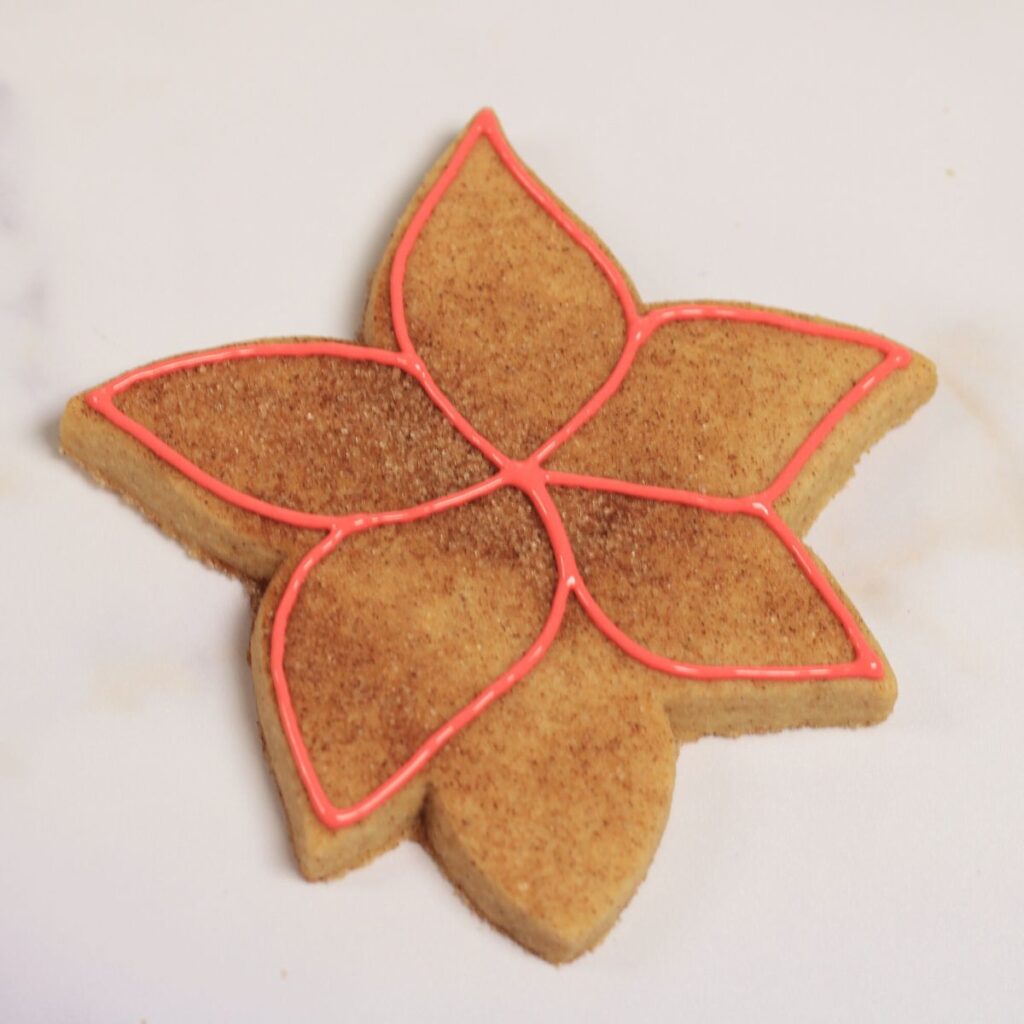
Flood two petals that do not touch.

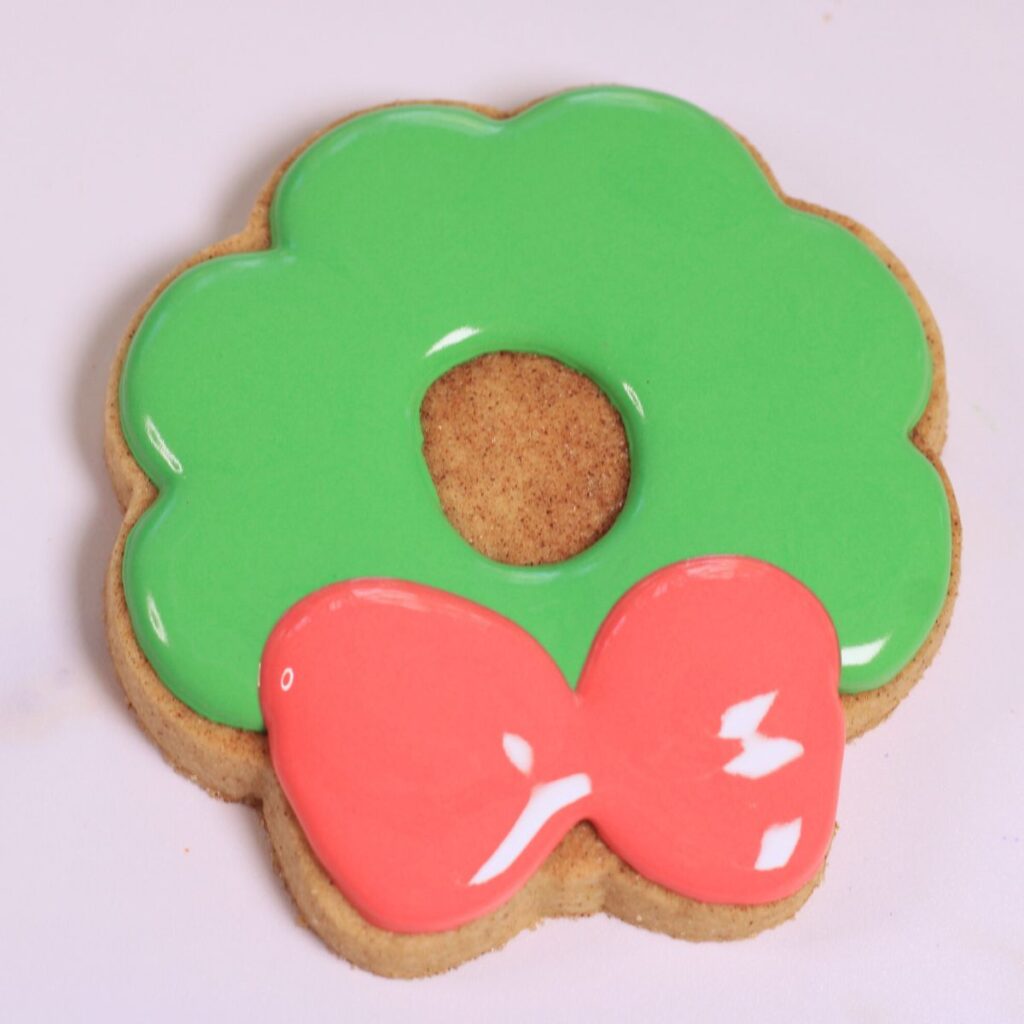
Outline the middle and outside of the wreath with green icing.

Flood wreath with green icing.

Outline ornament with green icing.

Fill in ornament with green icing.

Outline the body of the truck with red icing.

Fill in outline with red icing.

Flood two more Poinsettia petals that are not touching.

Outline the bow of the wreath.

Fill in bow outline with red icing.
Add ornaments around the wreath using alternating red and white dots.

Use green icing to outline the tree in the back of the truck and then flood.
Use brown icing to create tires, making sure to leave empty space in the middle.

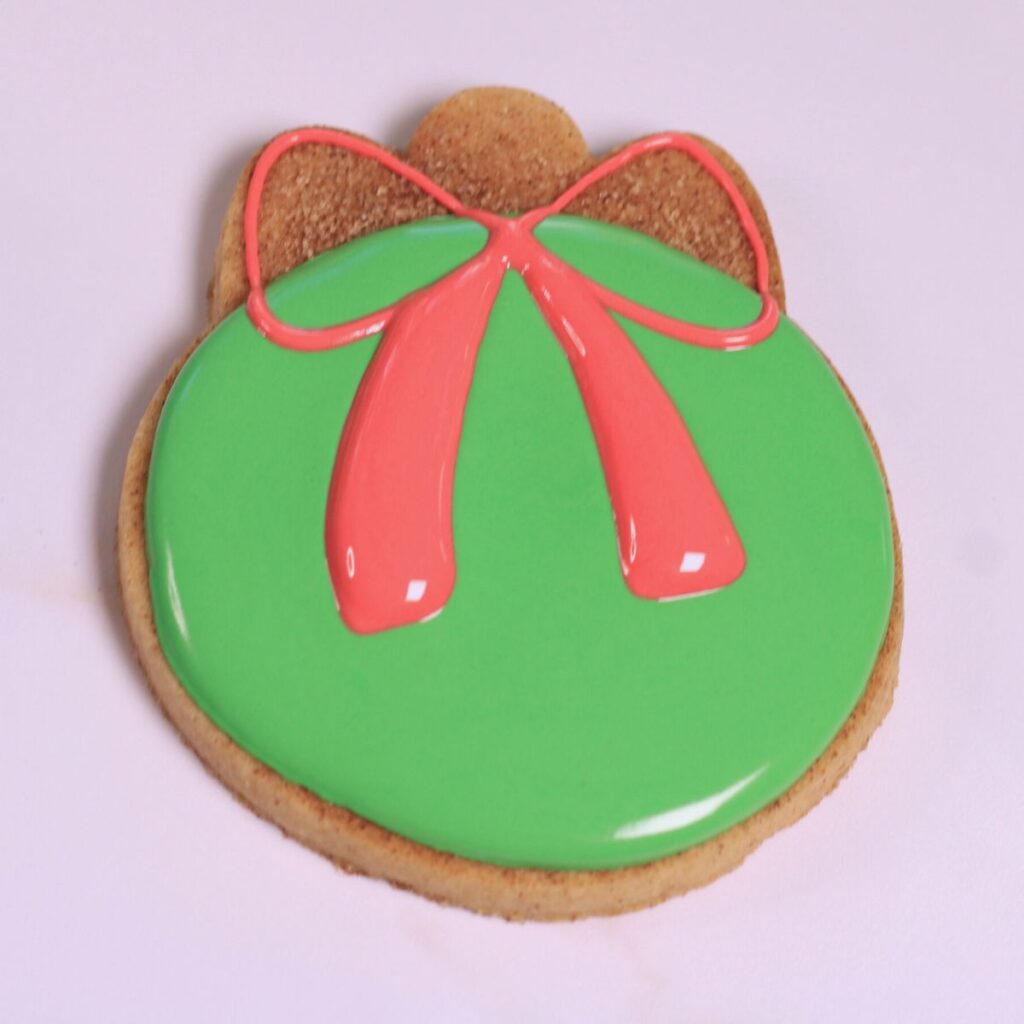
Use red icing to outline a bow over the ornament.
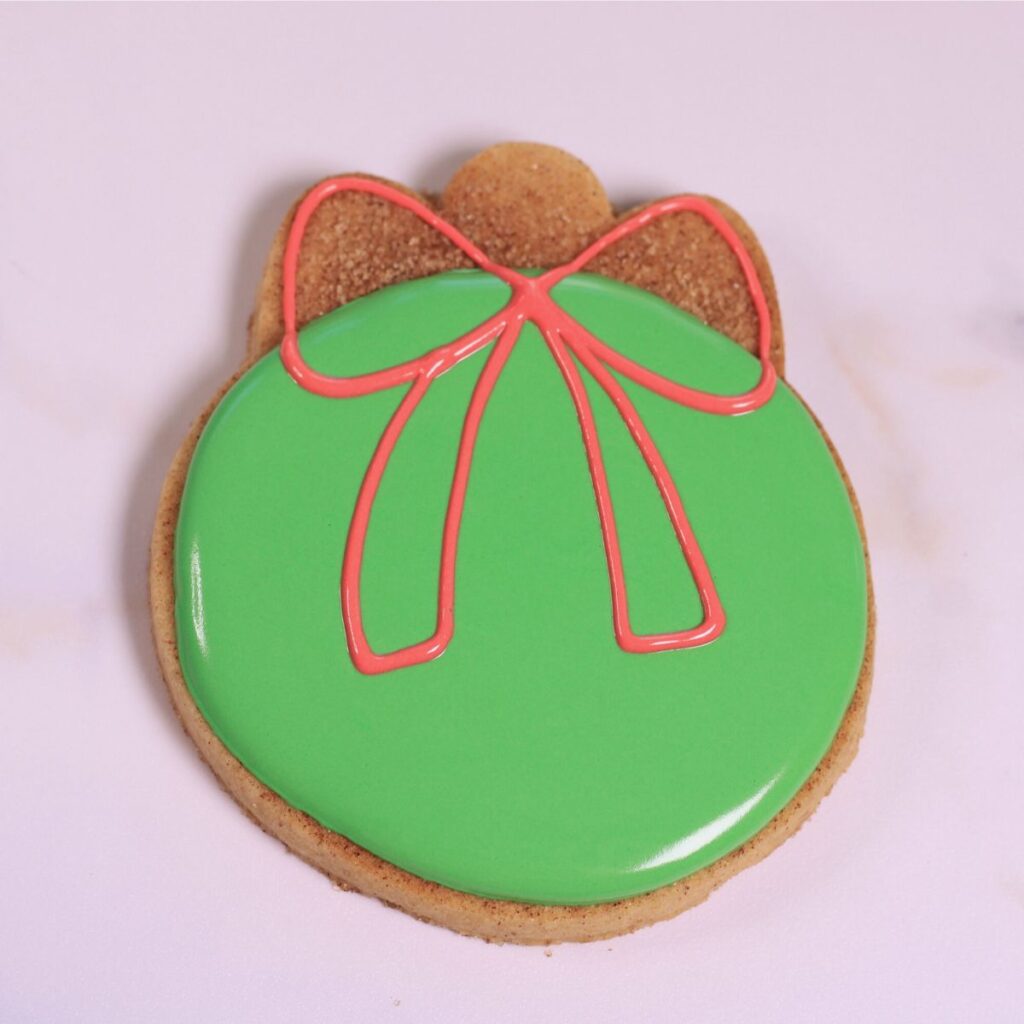
Fill in bow ribbon with red icing.
Flood the last poinsettia petal.
Grab your RED icing – pipe two lines above our brown tires to look like fenders.
Grab the WHITE icing and pipe the hubcaps in the middle of our wheels. Also add a headlight by making a white dot in the front of our truck.
You are now done with the truck!

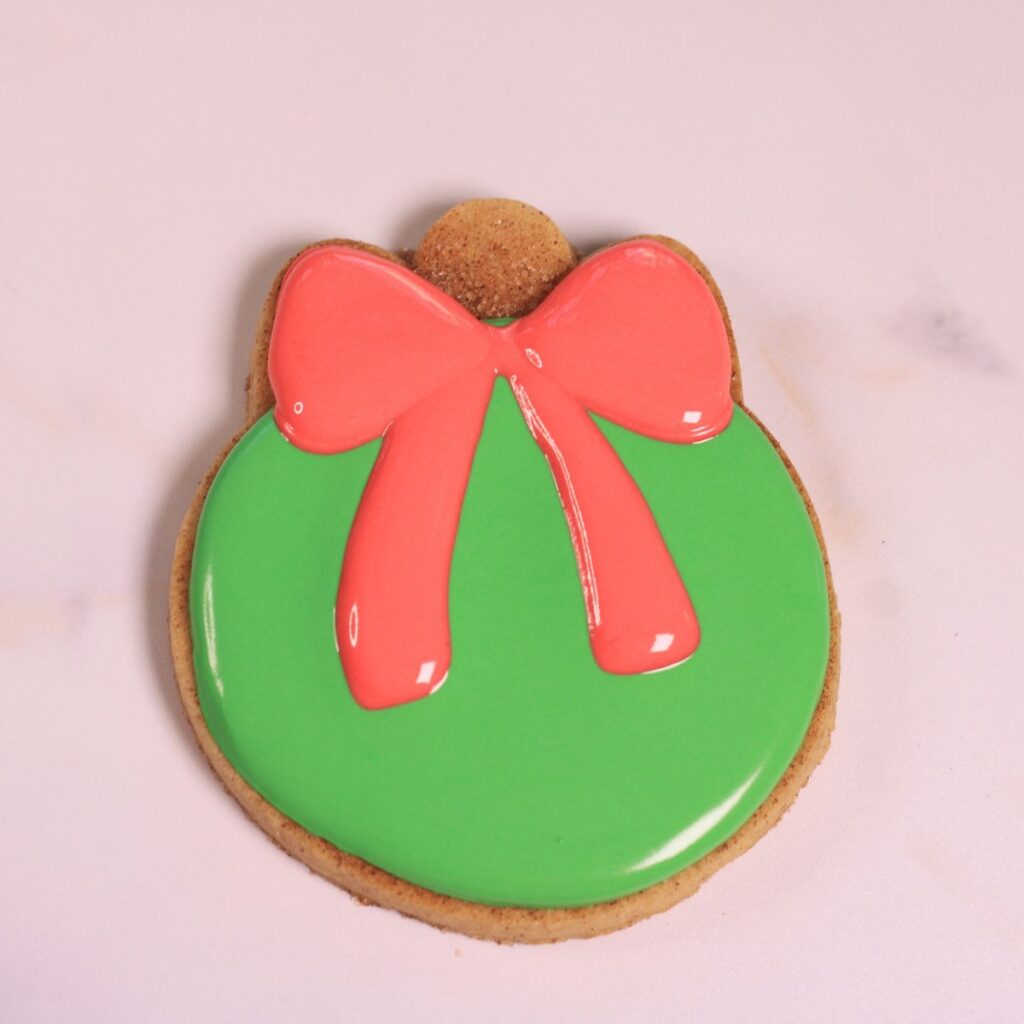
Fill in the tops of the bows on the ornament.
Use red icing to make an oblong dot on the center of the wreath’s bow.
This cookie is now done!

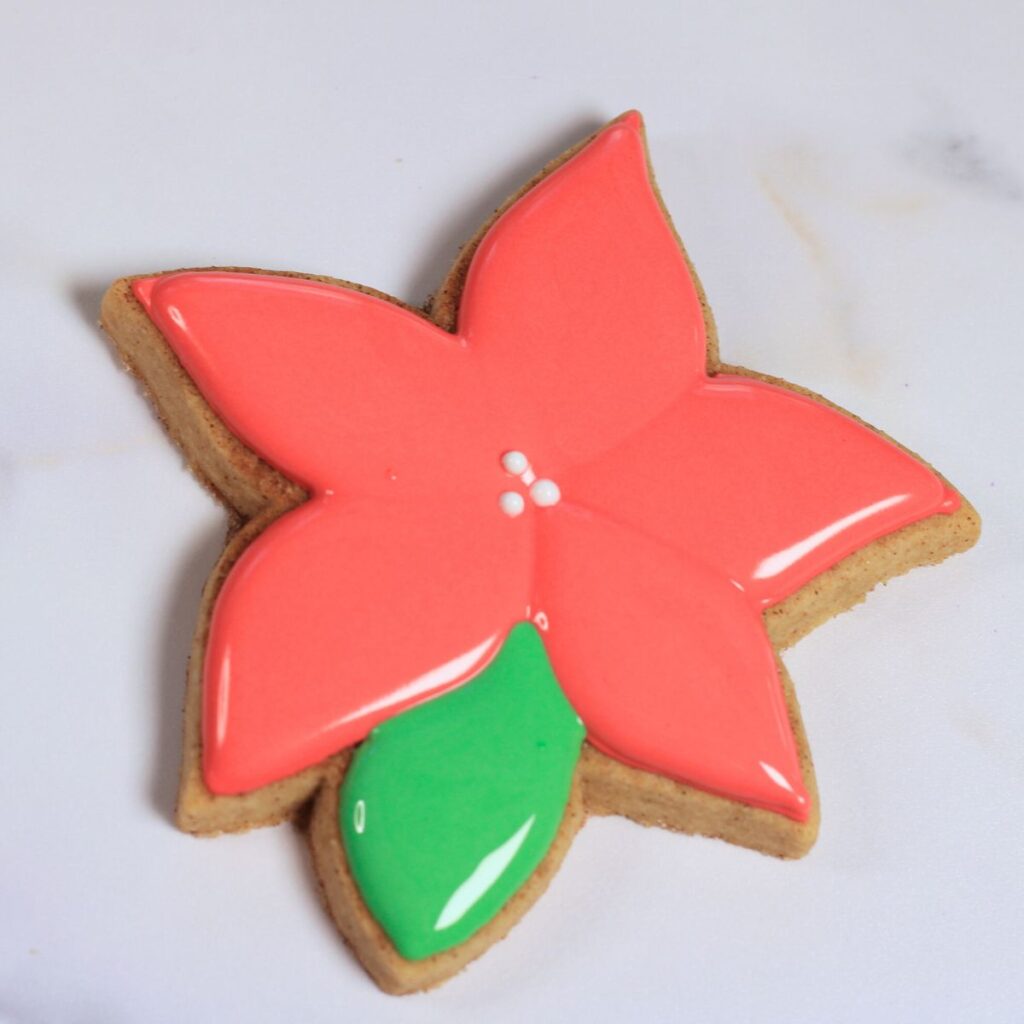
Outline and flood the poinsettian leaf with green icing.
Use white icing to create three small dots in the center of the poinsettia petals.
This cookie is now done.
Grab your WHITE icing – add a loop at the top of this cookie (hey, ornaments need something to hang on with, right?).
With your RED icing, add a dot to finish up our bow.
This cookie is now done!
Done!
That’s it! The true final step is waiting for them to completely dry which takes about 24 hours. Of course If you are ready to eat them – go for it. I think they taste better with soft icing (I actually prefer them with no icing..is that wrong?)
Thank you so much for all the women who made it out to the crafting day. Sorry if you missed the cut off. I am hoping I get to do it again!
Pin for Later!