Monster Truck Cookies – Custom Birthday Set
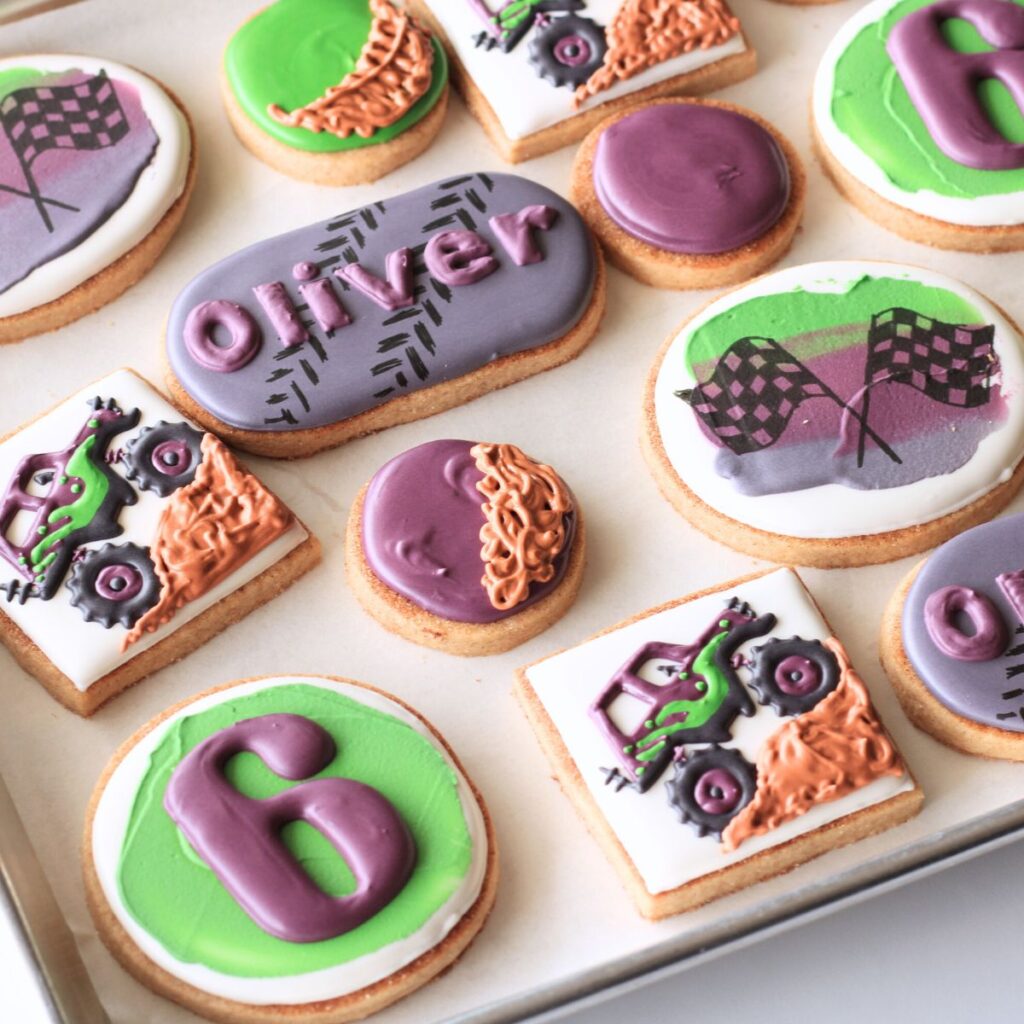
I had the privilege of making these Monster Truck Cookies for a friend’s son who turned six this month. While the monster truck itself was a bit intimidating it ended up being super fun to make and my favorite cookie of the set!
Supplies Needed
As an Amazon Associate I earn from qualifying purchases.
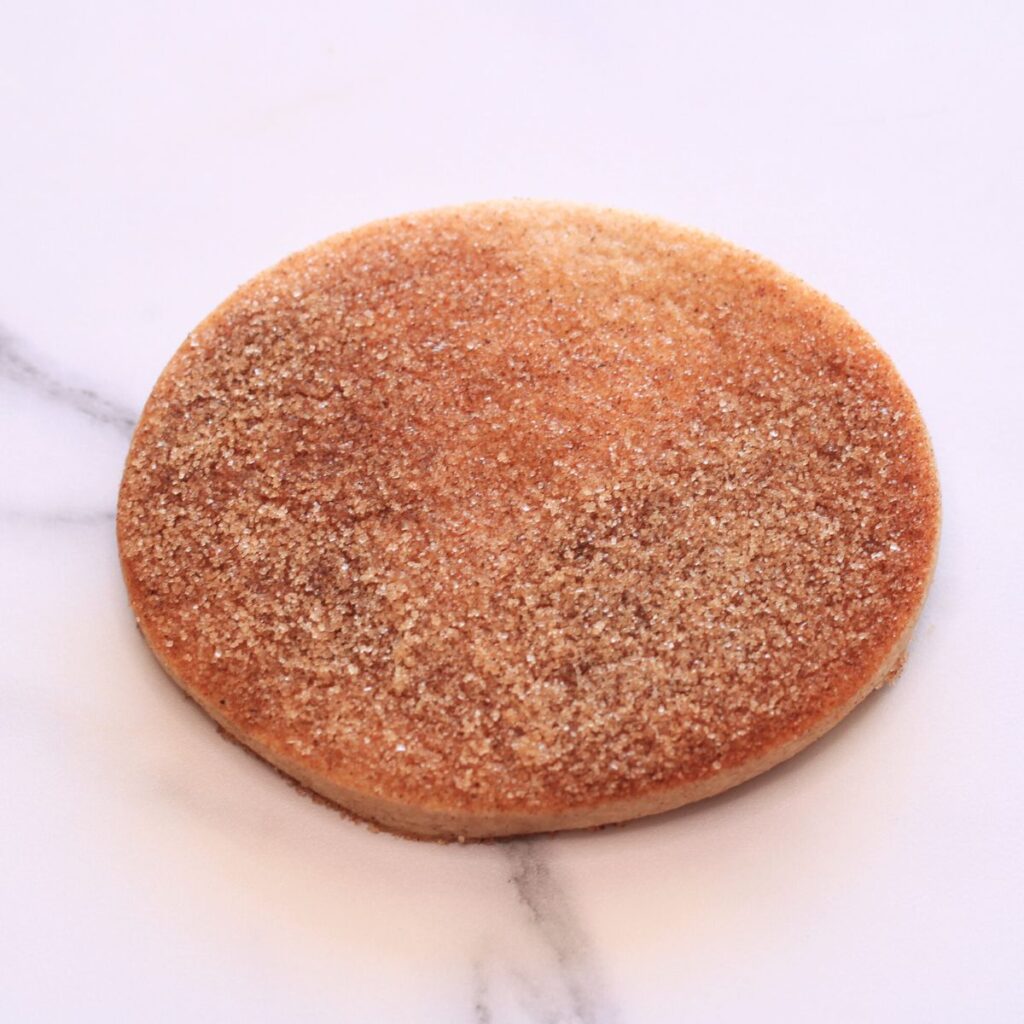
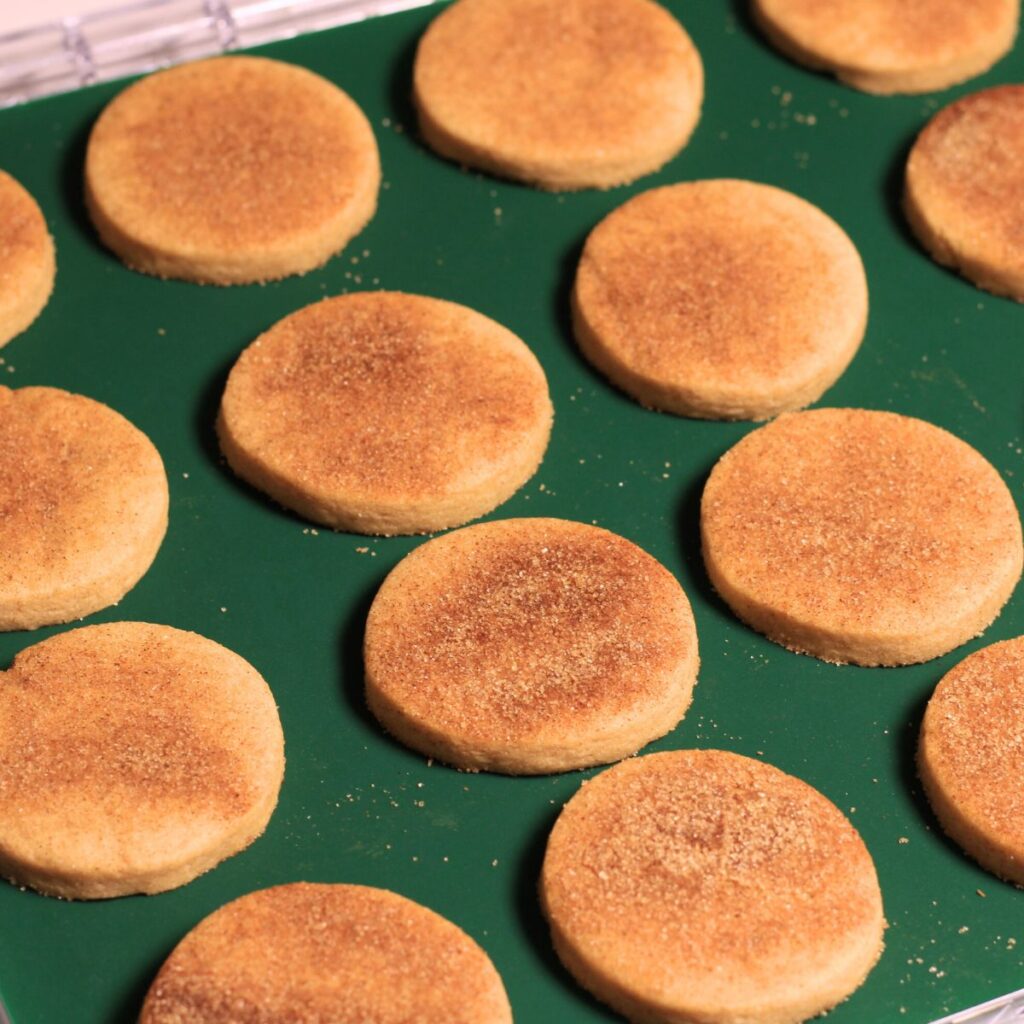
Cookies – check out my go – to recipe here.
Icing: I used 6 different colors:
- Bright Green: outline consistency
- Purple: outline consistency
- Grey: outline and flood consistency
- Brown: outline consistency
- White: outline and flood consistency
- Black: outline consistency.
As well as my every day baking supplies: Kitchenaid, baking sheets, baking mats, parchment paper, cookie scribe, paper towels, computer (to use my projector), gel food coloring, mixing bowls, rolling pin, dough sticks.
Elongated Oval Cookie Cutter – Medium 4×2
Circle Cookie Cutter – Regular 3.25in
Mini Circle Cookie Cutter – Mini 1.75in
Plan

The theme for this set is Monster Truck for a 6 Year old’s birthday party. Their favorite truck is “Grave Digger” which is bright green and purple.
I used Canva.com to create my overall plan which included the images I needed to project onto my cookie for decorating. I ended up using my projector for every design except the mini circles and cannot recommend that tool enough – even, and maybe especially for beginners!
Some of the images, like the monster truck and racing flags are Canva Premium images but since you just need to project them onto your cookie you can do that directly from Canva’s website and don’t need to download the files (which requires the purchase).
Decorate
Six

Grab Circle Cookie.

Outline Circle Cookie with white “outline” consistency icing.
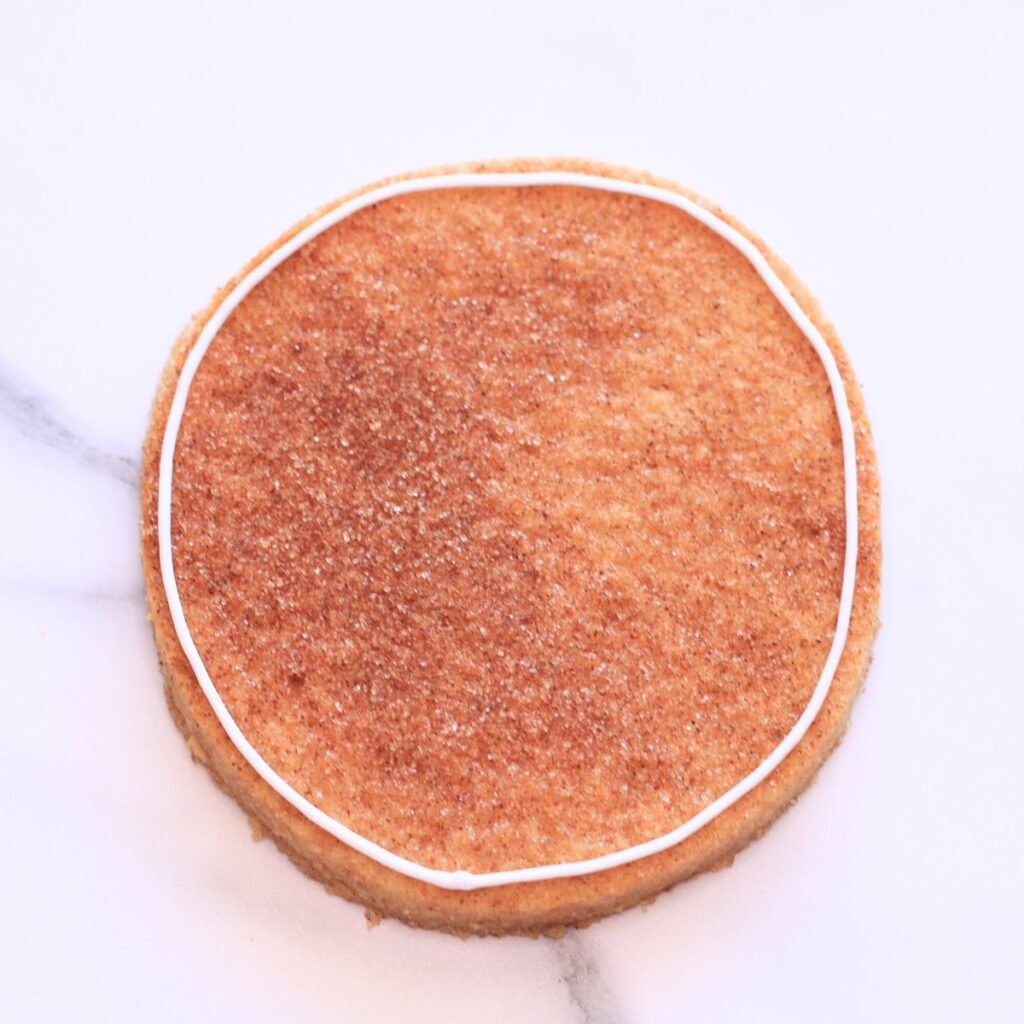
Fill in the circle with white “flood” icing.

Let icing dry for multiple hours in front of a fan.
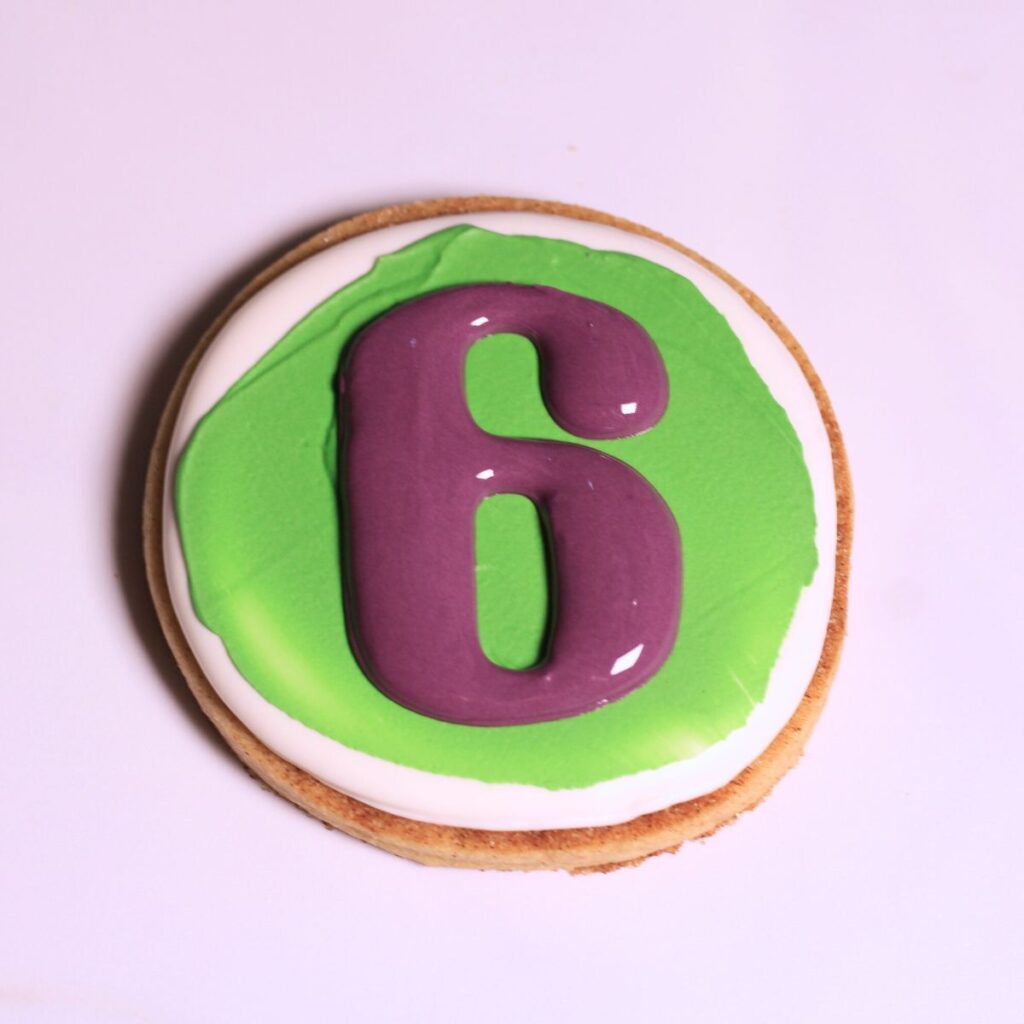
Put a glob of green “outline” icing onto the cookie and scrape across the surface with a dough scraper or palette knife.


Align the “6” with your projector to the center of the circle cookie.

Outline and fill in the “6” with outline consistency.
Name

Grab the oval cookie and outline with grey “outline” consistency.

Fill in oval with grey “flood” consistency.

Let grey icing dry for several hours in front of a fan.
Align oval cookie with the projected tire track. I ended up moving the name out of the way to get a better shot of just the tracks.

Trace tracks with food coloring pen.

Align oval cookie again with the projector, this time with the name over the center of the oval. Use the purple “outline” consistency to trace and fill in chosen name.

Racing Flags

Grab oval cookie.
Outline cookie with white “outline” consistency.

Fill in cookie with white “flood” consistency.

Let icing dry for several hours.
Glob on a bit of bright green, purple, and grey outline consistency icing on the left side of the cookie.

Spread the icing across the cookie with a dough scraper or palette knife.

Let dry for several hours.
Align projected racing flags onto the center of the cookie.
Trace the racing flags with a food coloring pen. (I used black icing first and did not like the look of it.)

Monster Truck

Outline the square cookie cutter with white “outline” consistency icing.

Fill in square with white “flood” consistency.

Let icing dry for twenty minutes in front of a fan or 7 minutes in a dehydrator (at the lowest temp setting).
Align projected monster truck onto the cookie.

Use “outline” consistency to outline and fill in the black details of the monster truck.
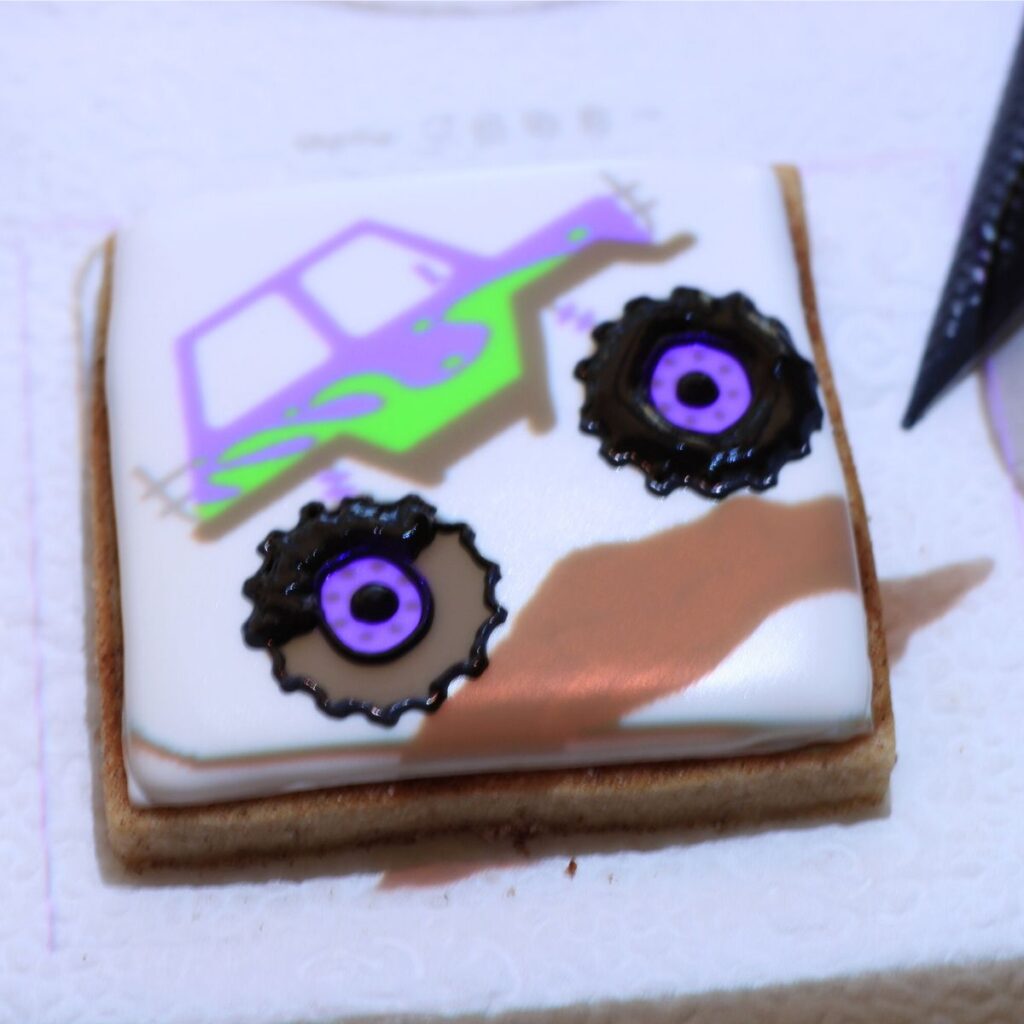
Use green and purple outline consistency to fill in the rest of the monster truck.
Then use black “outline” consistency to add in the front grill and back (I don’t know, the actual name.)

Grab brown outline consistency to add in mud. Outline the muddy hill.

Continue adding the brown icing roughly around the muddy area until it is completely covered.


Mini’s
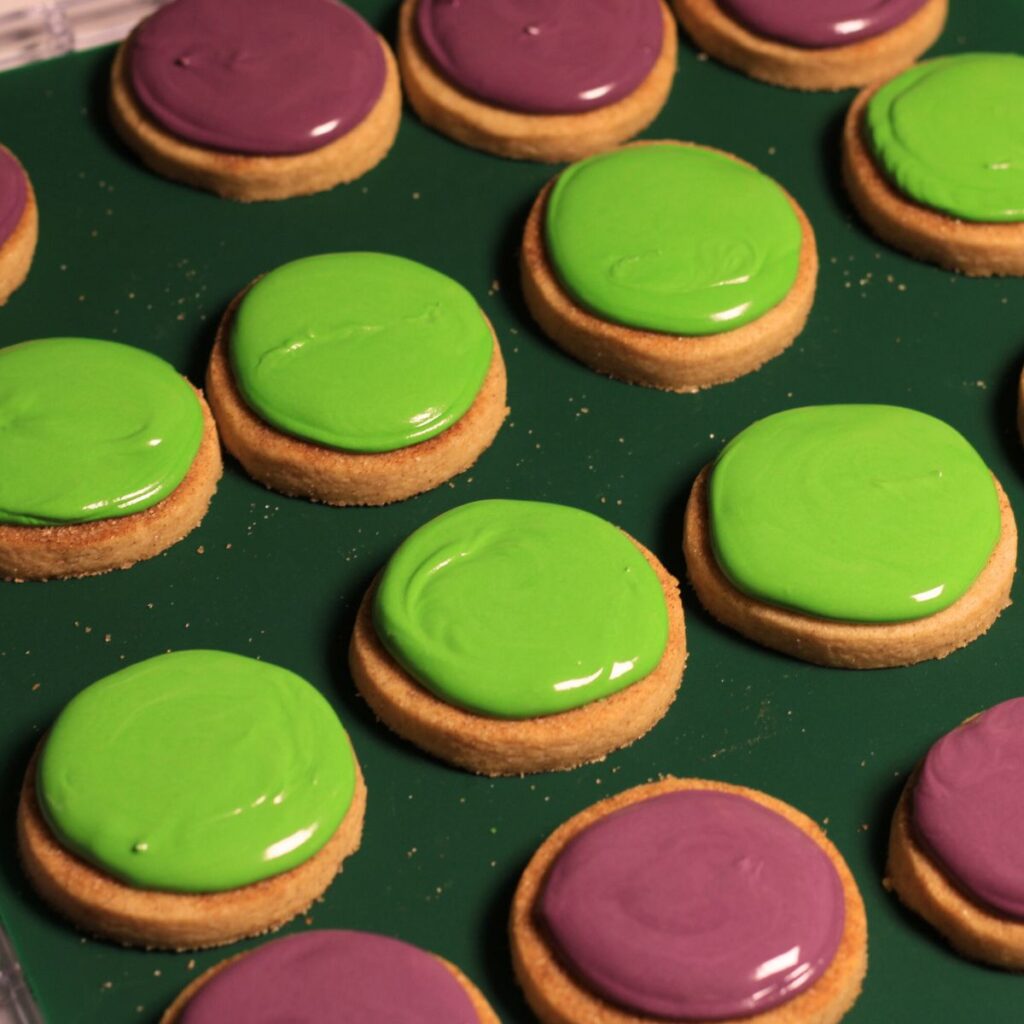
Outline mini circles with outline consistency and flood.
In these cookies I used outline consistency to outline and flood and wasn’t able to get a smooth finish on top, I regret it.
Dry Time
All done! Well, with the decorating! Now it is time to let the cookies dry. In general I aim to let my cookies dry for about 24 hours in front of a fan before heat sealing them in a cellophane bag.
Let me know what you think! I would love to see your Monster Truck Cookies! Make sure to tag #thehandcraftedcookie on Instagram so that I can see your creations!
Just getting started with cookie decorating? Check out these posts!
How to Decorate Sugar Cookies with Royal Icing
Custom Cookie Decorating: The Grammar
International Dot Day Custom Cookies