Valentine Cookies – Royal Icing Tutorial

Valentine’s Presale reveal #5!! As I look at this fun Valentine Cookies set to pick a favorite – I just cannot choose!! I love the combination of big cookies with the mini’s.
This cookie set will be available for presale January 25 through February 3 (unless sold out sooner) and ready for pick up February 12th. It will include 6 full sized cookies and 6 minis.
Want early access to the presale? Make sure to join my e-mail list!
Supplies
as an Amazon Associate I earn from qualifying purchases.
Valentine Cookie Cutter, there is also a “Galentine” version.
Fan or Dehydrator
Cookies, Icing, and general cookie decorating supplies – more information can be found here.
Icing Colors
These formulas are made with Chefmaster Gel Food Coloring in 283g of icing. Please adjust accordingly.
Red [outline] – 4 drops Liquid Whitener, 10 drops Super Red
White [outline]- 10 drops Liquid Whitener
Dark Pink [flood and outline] – 6 drops Liquid Whitener, 3 drops Super Red, 1 drop Rose, 1 drop Coal Black
Lavender [flood and outline] – 8 drops Liquid Whitener, 1 drop Sky Blue, 1 drop Rose, 1 drop Coal Black
Ivory [outline]- 4 drops Liquid Whitener, 6 drops Ivory, 2 drops Sienna
Light Pink: 9 drops Liquid Whitener, 1 drop Super Red, 1 drop Rose, 1 drop Coal Black [Outline and Flood Consistency]
Instructions
Gumball
Start by creating the heart icing transfer.
Print off the Heart Transfer pdf from the supply list.
Cover the transfer sheet with a cellophane bag and follow the outline to create multiple hearts in a variety of colors with outline consistency icing.
Let icing transfer air dry for many hours until completely dry. If they do not come off the cellophane bag easily give them more time to dry.


With lavender colored icing outline the base and top of the gumball machine. Because the top is such a small space use outline consistency to fill it in. Use a cookie scribe if needed to help the icing settle.

Fill in the base with lavender flood consistency.

Let icing sit in front of a fan or in a food dehydrator, with the door open at the lowest setting, for 7 minutes – or long enough for a thin crust to form on the icing.
Use Ivory colored icing to outline the inner circle of the gumball machine.

Fill in circle with ivory flood icing.

Let icing sit in front of a fan or in a food dehydrator, with the door open at the lowest setting, for 7 minutes – or long enough for a thin crust to form on the icing.
Use lavender outline consistency icing to create the base and opening of the gumball machine, as well as, not picture, a small filled in circle on the tippity top [as seen in next photo].
With ivory outline consistency pipe on the spinner.

Decide where to put the heart transfers.

Pipe a small amount of icing onto the back of the heart transfer and gently place onto the cookie at previously decided spot.

Gumball done.

Valentine
Outline “Valentine” cookie with ivory icing.

Fill in the cookie with ivory flood consistency icing.

Let icing sit in front of a fan or in a food dehydrator, with the door open at the lowest setting, for 7 minutes – or long enough for a thin crust to form on the icing.
Place cookie under projector.
I saved the photo from the shop’s listing and put it into Canva in order to adjust the size of the photo for the cookie.

With outline consistency outline and fill in the valentine cookie design.


Valentine cookie done.

Heart
These lacey scalloped hearts have a special place in my heart. I love getting to add them into my cookie sets.

Start by adding some outline consistency icing to a few of the scallops.

Use a food safe brush to gently pull some of the icing toward the center of the cookie to create the lacey effect.

Continue the process around the whole cookie.


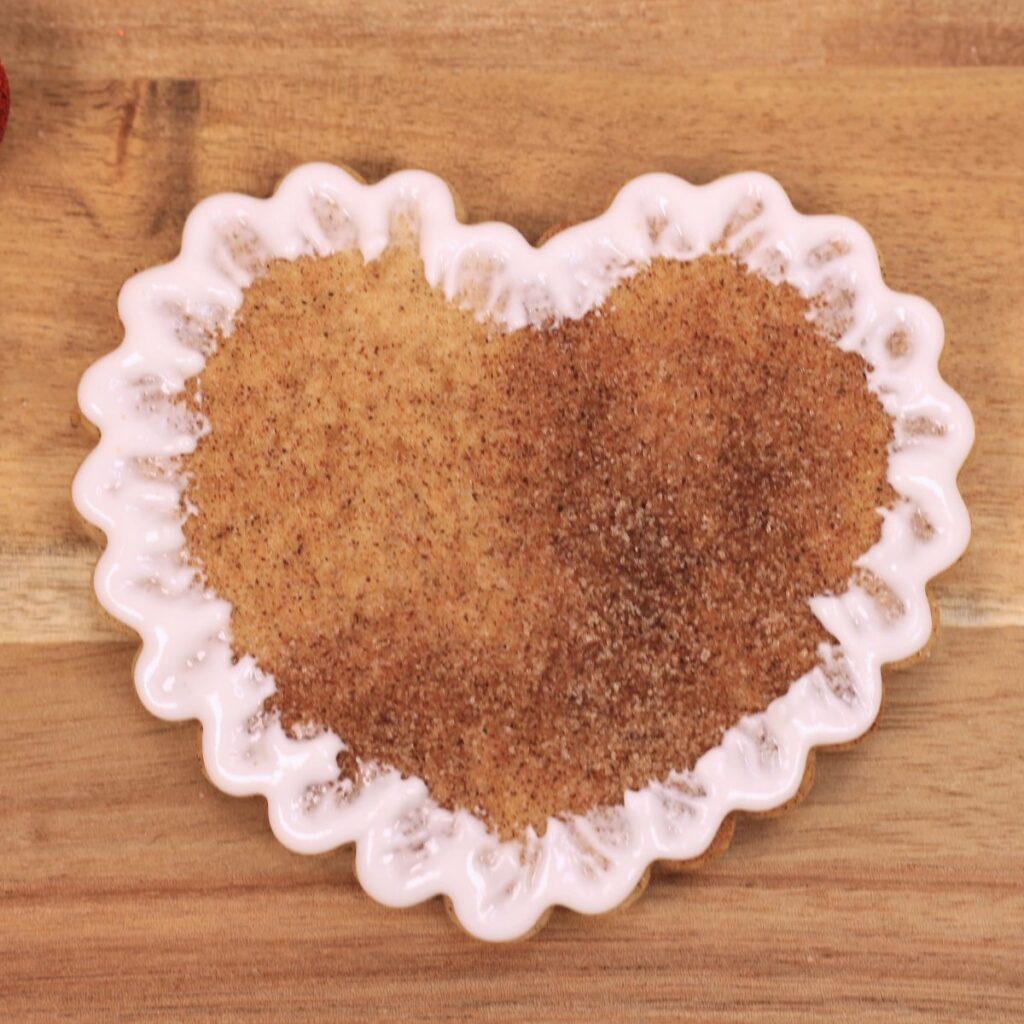
Create a heart shape with red outline icing.

Fill in the heart with red flood icing.

Heart done.

Minis

Outline cookies with outline consistency. I used light pink for the O and dark pink for the X.


Use outline consistency icing to create squiggles throughout the mini designs – this will help prevent your icing to crater.

Fill in the rest of the cookie with flood consistency icing.


Let icing sit in front of a fan or in a food dehydrator, with the door open at the lowest setting, for 7 minutes – or long enough for a thin crust to form on the icing.
Use lavender outline icing to make small dots on the outsides of the mini cookies.

Minis done.

Time to Dry
The icing needs about 24 hours in front of a fan to dry.
It’s important for the icing to fully dry before attempting to package them up or stack them on top of one another. If packaged too soon the icing will smudge and stick to the bag.
Completed Valentine Cookies Set

More Valentine’s Day Cookie Tutorials
Valentine’s Day Heart Cookies (VERY beginner friendly)
Ice Cream Sugar Cookies Tutorial
Pin for Later