Paint Your Own Cookie – Valentine’s Tutorial

Did you know you can PAINT on cookies?! Paint Your Own (PYO) Cookies are a fun activity giving kids the opportunity to use a paint palette and mini paint brush to make edible designs on their cookie.
Just like your favorite water color sets this color palette is activated by water to spread across the cookie with a mini paint brush!
Decorate It Yourself (DIY) Kits have become a customer favorite during holiday presales but for Valentine’s Day I wanted to switch my options up a bit and I think this edible activity is the perfect option!
It’s one thing to squeeze the icing onto your cookie and picking where to place the sprinkles…but to be able to water color a cookie and still eat it…SO fun!!
These cookies as well as several other *adorable* options will be for sale on my website for presale (local, Jefferson, OR only) January 25, 2026 and will be able to pick up February 12th!
Make them Yourself
Paint Your Own (PYO) Cookies are GREAT for beginners because they require only two colors of icing and use a stencil to achieve a crisp clean picture but they do require extra supplies to make for easy application.
Supplies
As an Amazon Associate I earn from qualifying purchases.
Check out this post for recipes and suggested tools for cookie making.
Cookie Cutter, this cookie cutter was made for this stencil specifically but you could use any plague shape large enough for the stencil.
Stencil Genie, this is a stencil holder
Icing Colors
White – outline and flood
Black – stiff peak
Instructions
Outline the entire cookie with white outline consistency icing.

Fill in the outlined area with white flood consistency icing.

The icing now needs to dry for a few hours in front of a fan. The next step requires putting a little bit of pressure against the white flooded area the longer the drying time the stronger the icing will hold up against that pressure. I wait for a minimum of five hours but sometimes wait overnight!
Place stencil in between the magnetic Stencil Genie frame and center the design on your cookie.

Put stiff black icing around the stencil’s design.

Spread the icing across the stencil with a dough scraper making sure the design is fully covered.

Slowly remove the stencil to reveal the beautiful design!

Dry time! Allow the icing to fully dry. I aim for 24 hours drying in front of a fan. I include the hours the cookie was drying before adding the stencil design. So if the base layer already dried for 8 hours I make sure the icing dries for another 16 hours.

So easy right?! I think sugar cookies decorated with royal icing are so intimidating – but once you see the process broken into steps cute results seem so much more achievable!
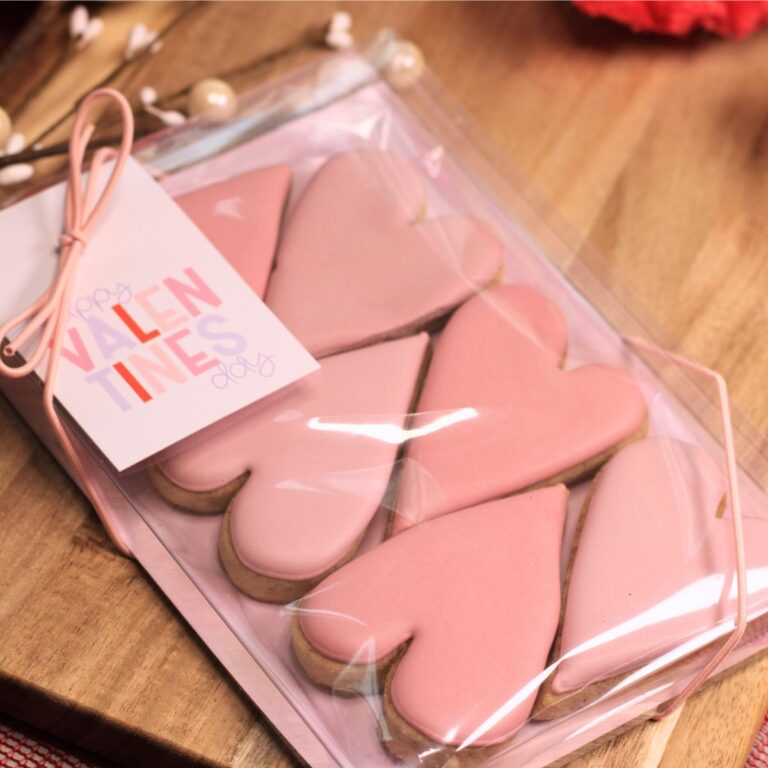
This cookie, paint palette and brush will be heat sealed and attached to the cute backer.
Paint Your Own Cookie FAQs
Are there other ways to color the cookie?
Yes!! Edible ink markers are a super popular option as well.
Some people put the paint palette straight onto the cookie itself. This can be achieved a few different ways: 1. attaching M&Ms or Skittles. 2. Making white icing transfers and airbrushing color onto each dot.
Can I freeze cookies decorated in royal icing?
Yes! Cookies decorated with royal icing will last months and months in a freezer without losing any of their delicious flavor or texture.
Once the icing is completely dry heat seal the cookie in a cellophane bag and place into an airtight container. The day before you plan to give away or eat your cookie take the container out of the freezer but wait until it has reached room temperature before opening and removing cookies.
More Tutorials
Check out these posts for more cookie decorating tutorials:
Mini Donut Cookie (another Valentine’s presale item!)
Cookie Selling Tools
How Much to Charge for Royal Icing Cookies
Pin It For Later